
模型部署系列(一)Qwen2.5-VL
安装Qwen2.5-VL依赖
使用Conda安装
创建conda环境
conda create -n qwen python=3.10
# 进入环境
conda activate qwen
# 从transformers库安装依赖
pip install git+https://github.com/huggingface/transformers accelerate
# 安装视频读取加速工具
pip install qwen-vl-utils[decord] -i https://mirrors.tuna.tsinghua.edu.cn/pypi/web/simple注意如果是Linux系统,无法从PyPI安装decord,因此使用
pip install qwen-vl-utils,这将使用torchvision来进行视频处理
github下载库安装web_demo
如果需要使用web_demo可以进行如下步骤,否则可以跳过。
git clone git@github.com:QwenLM/Qwen2.5-VL.git如果出现timeout可以在站长之家使用ping检测github.com,修改自己host。
安装web_demo依赖
注意在这里我们如果已经安装了torch需要把txt中torch相关的删掉,因为清华源的torch不支持gpu!如果没有安装torch我们就不用清华源即可。
cd Qwen2.5-VL
pip install -r ./requirements_web_demo.txt -i https://mirrors.tuna.tsinghua.edu.cn/pypi/web/simple
运行demo
使用huggingface api下载模型
如果使用transformers 下载失败可以使用huggingface_hub 下载到本地:
pip install --upgrade huggingface_hub首先在命令行登录huggingface
huggingface-cli login具体的token创建请自行在huggingface上完成
创建download.py
import os
from huggingface_hub import snapshot_download

os.environ['HF_ENDPOINT'] = 'https://hf-mirror.com'

# 设置模型仓库 ID 和本地保存路径
repo_id = "Qwen/Qwen2.5-VL-7B-Instruct"  # 模型仓库 ID
local_dir = "./models/qwen2.5-vl"  # 本地保存路径

# 下载完整模型目录
snapshot_download(
    repo_id=repo_id,
    local_dir=local_dir,
    local_dir_use_symlinks=False,  # 避免使用符号链接
    resume_download=True,  # 支持断点续传
    # allow_patterns=["*"],  # 下载所有文件
    # ignore_patterns=["*.safetensors", "*.msgpack", "*.h5", "*.ot"],  # 可选:排除某些文件类型
    max_workers=8,  # 并发下载线程数
)
等待下载完成即可
使用ModelScope下载
pip install modelscope -i https://mirrors.tuna.tsinghua.edu.cn/pypi/web/simple
modelscope download --model Qwen/Qwen2.5-VL-7B-Instruct --local_dir ./models
测试demo
创建quickstart.py:
from transformers import Qwen2_5_VLForConditionalGeneration, AutoProcessor
from qwen_vl_utils import process_vision_info

# default: Load the model on the available device(s)
model = Qwen2_5_VLForConditionalGeneration.from_pretrained(
    "Qwen/Qwen2.5-VL-7B-Instruct", torch_dtype="auto", device_map="auto"
)

# We recommend enabling flash_attention_2 for better acceleration and memory saving, especially in multi-image and video scenarios.
# model = Qwen2_5_VLForConditionalGeneration.from_pretrained(
#     "Qwen/Qwen2.5-VL-7B-Instruct",
#     torch_dtype=torch.bfloat16,
#     attn_implementation="flash_attention_2",
#     device_map="auto",
# )

# default processor
processor = AutoProcessor.from_pretrained("Qwen/Qwen2.5-VL-7B-Instruct")

# The default range for the number of visual tokens per image in the model is 4-16384.
# You can set min_pixels and max_pixels according to your needs, such as a token range of 256-1280, to balance performance and cost.
# min_pixels = 256*28*28
# max_pixels = 1280*28*28
# processor = AutoProcessor.from_pretrained("Qwen/Qwen2.5-VL-7B-Instruct", min_pixels=min_pixels, max_pixels=max_pixels)

messages = [
    {
        "role": "user",
        "content": [
            {
                "type": "image",
                "image": "https://qianwen-res.oss-cn-beijing.aliyuncs.com/Qwen-VL/assets/demo.jpeg",
            },
            {"type": "text", "text": "Describe this image."},
        ],
    }
]

# Preparation for inference
text = processor.apply_chat_template(
    messages, tokenize=False, add_generation_prompt=True
)
image_inputs, video_inputs = process_vision_info(messages)
inputs = processor(
    text=[text],
    images=image_inputs,
    videos=video_inputs,
    padding=True,
    return_tensors="pt",
)
inputs = inputs.to(model.device)

# Inference: Generation of the output
generated_ids = model.generate(**inputs, max_new_tokens=128)
generated_ids_trimmed = [
    out_ids[len(in_ids) :] for in_ids, out_ids in zip(inputs.input_ids, generated_ids)
]
output_text = processor.batch_decode(
    generated_ids_trimmed, skip_special_tokens=True, clean_up_tokenization_spaces=False
)
print(output_text)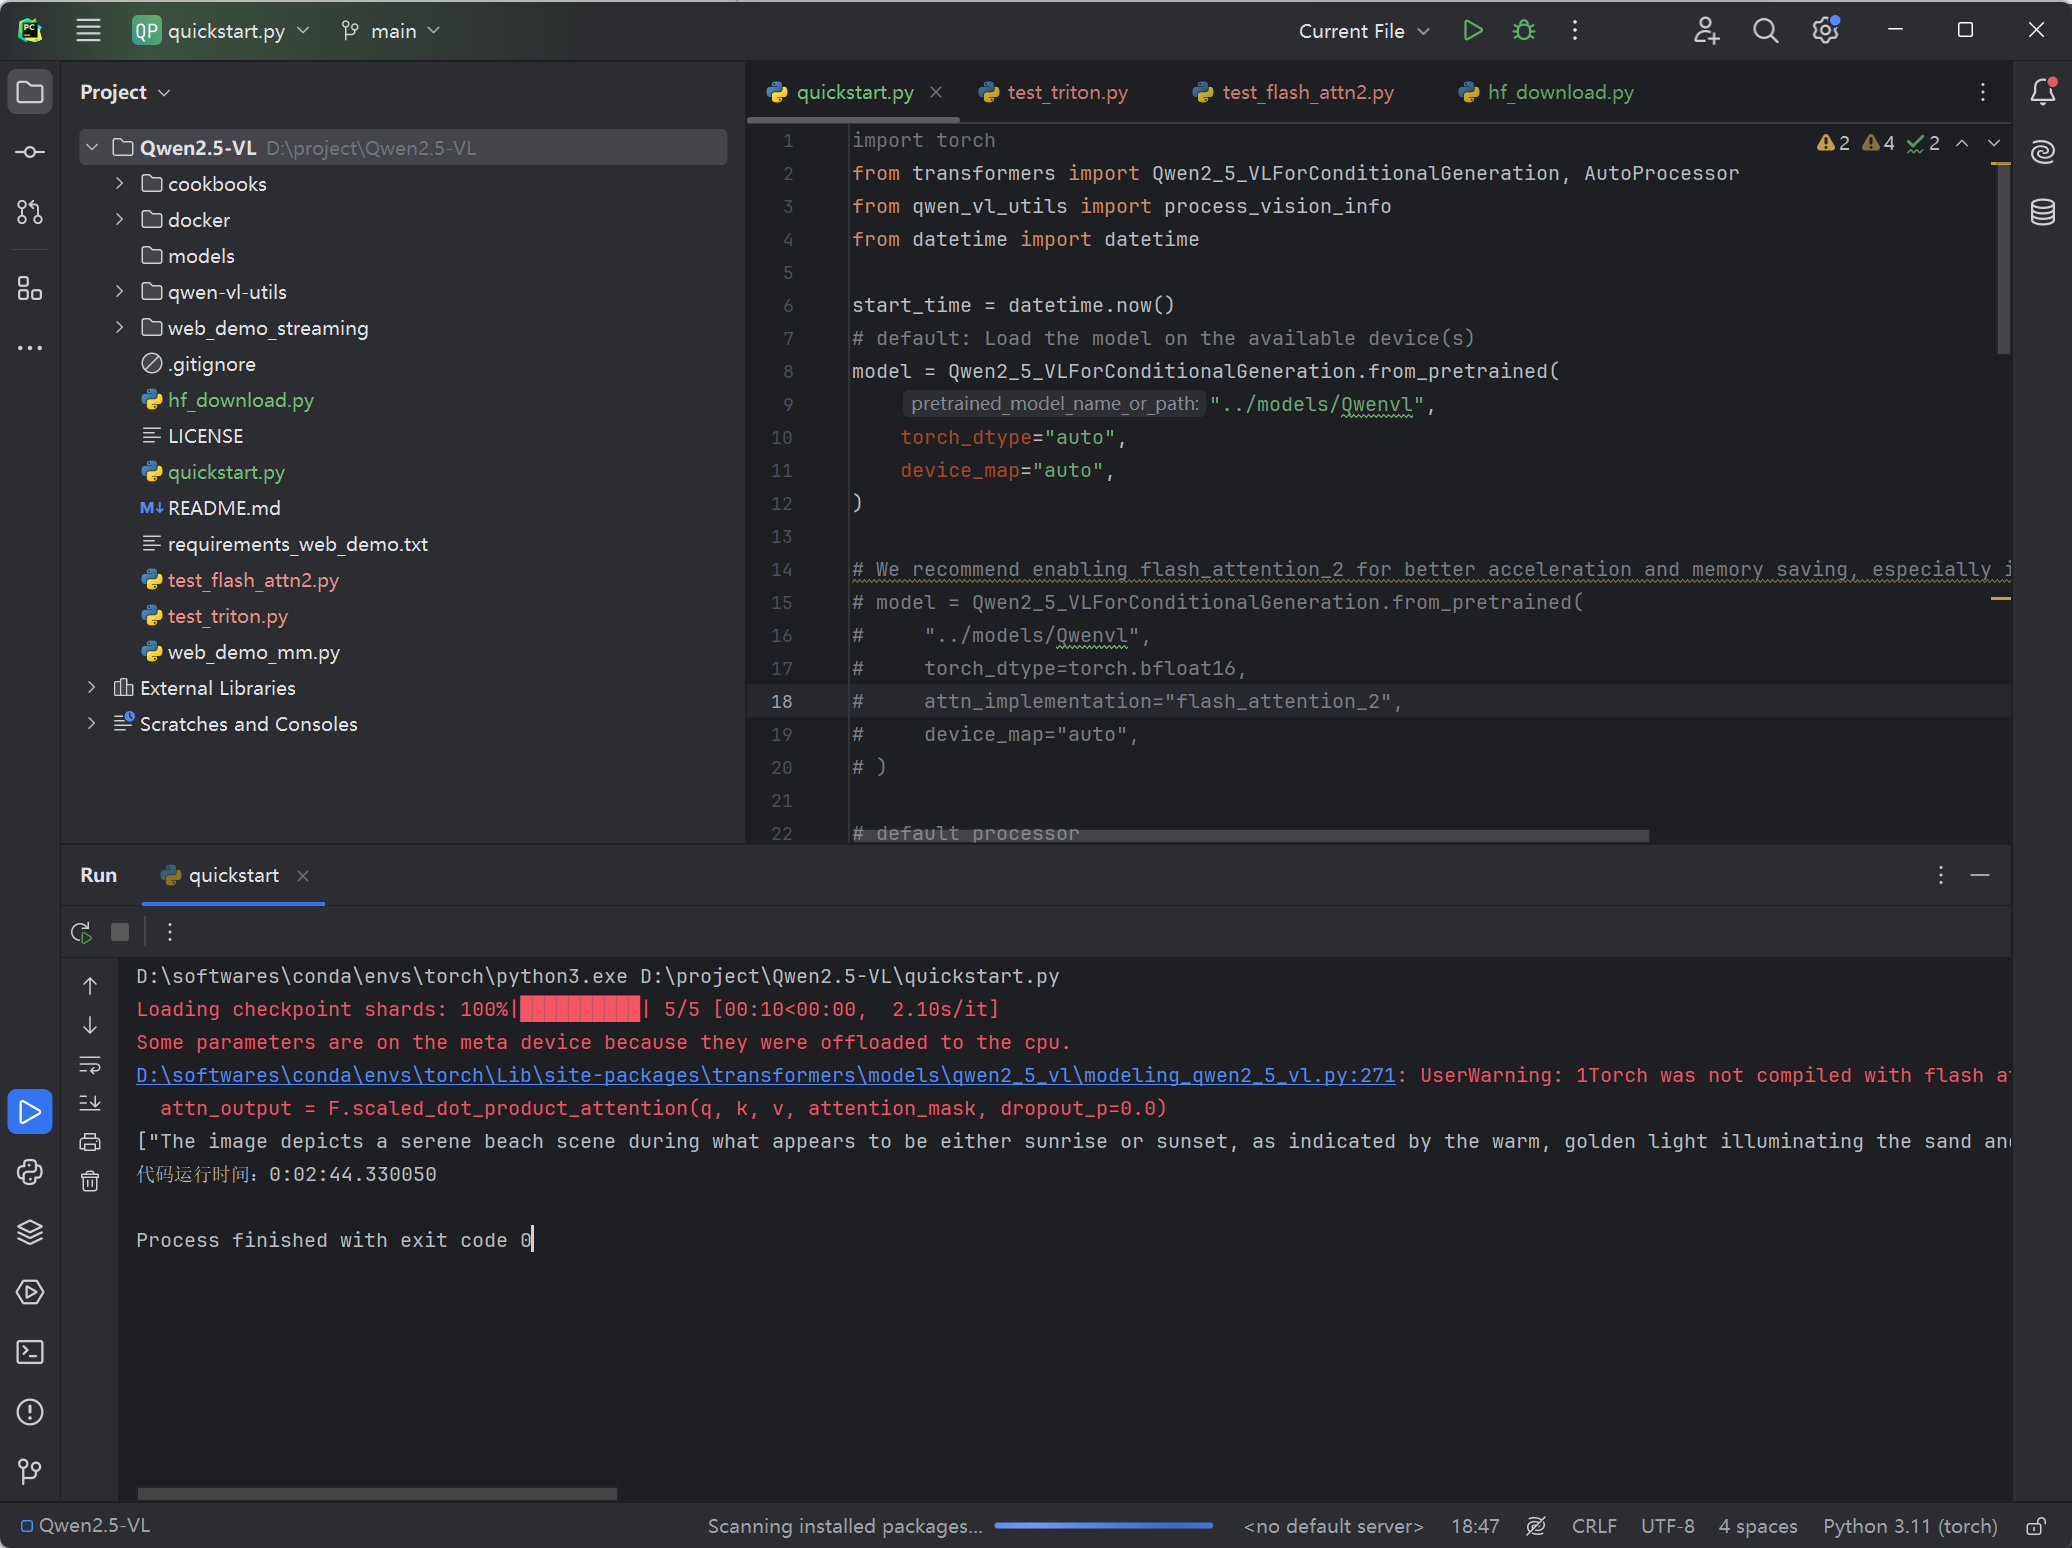
运行成功,不过速度也是非常的感人。
安装flash-attn请参考模型部署系列(零)前置环境 | Moon's blog
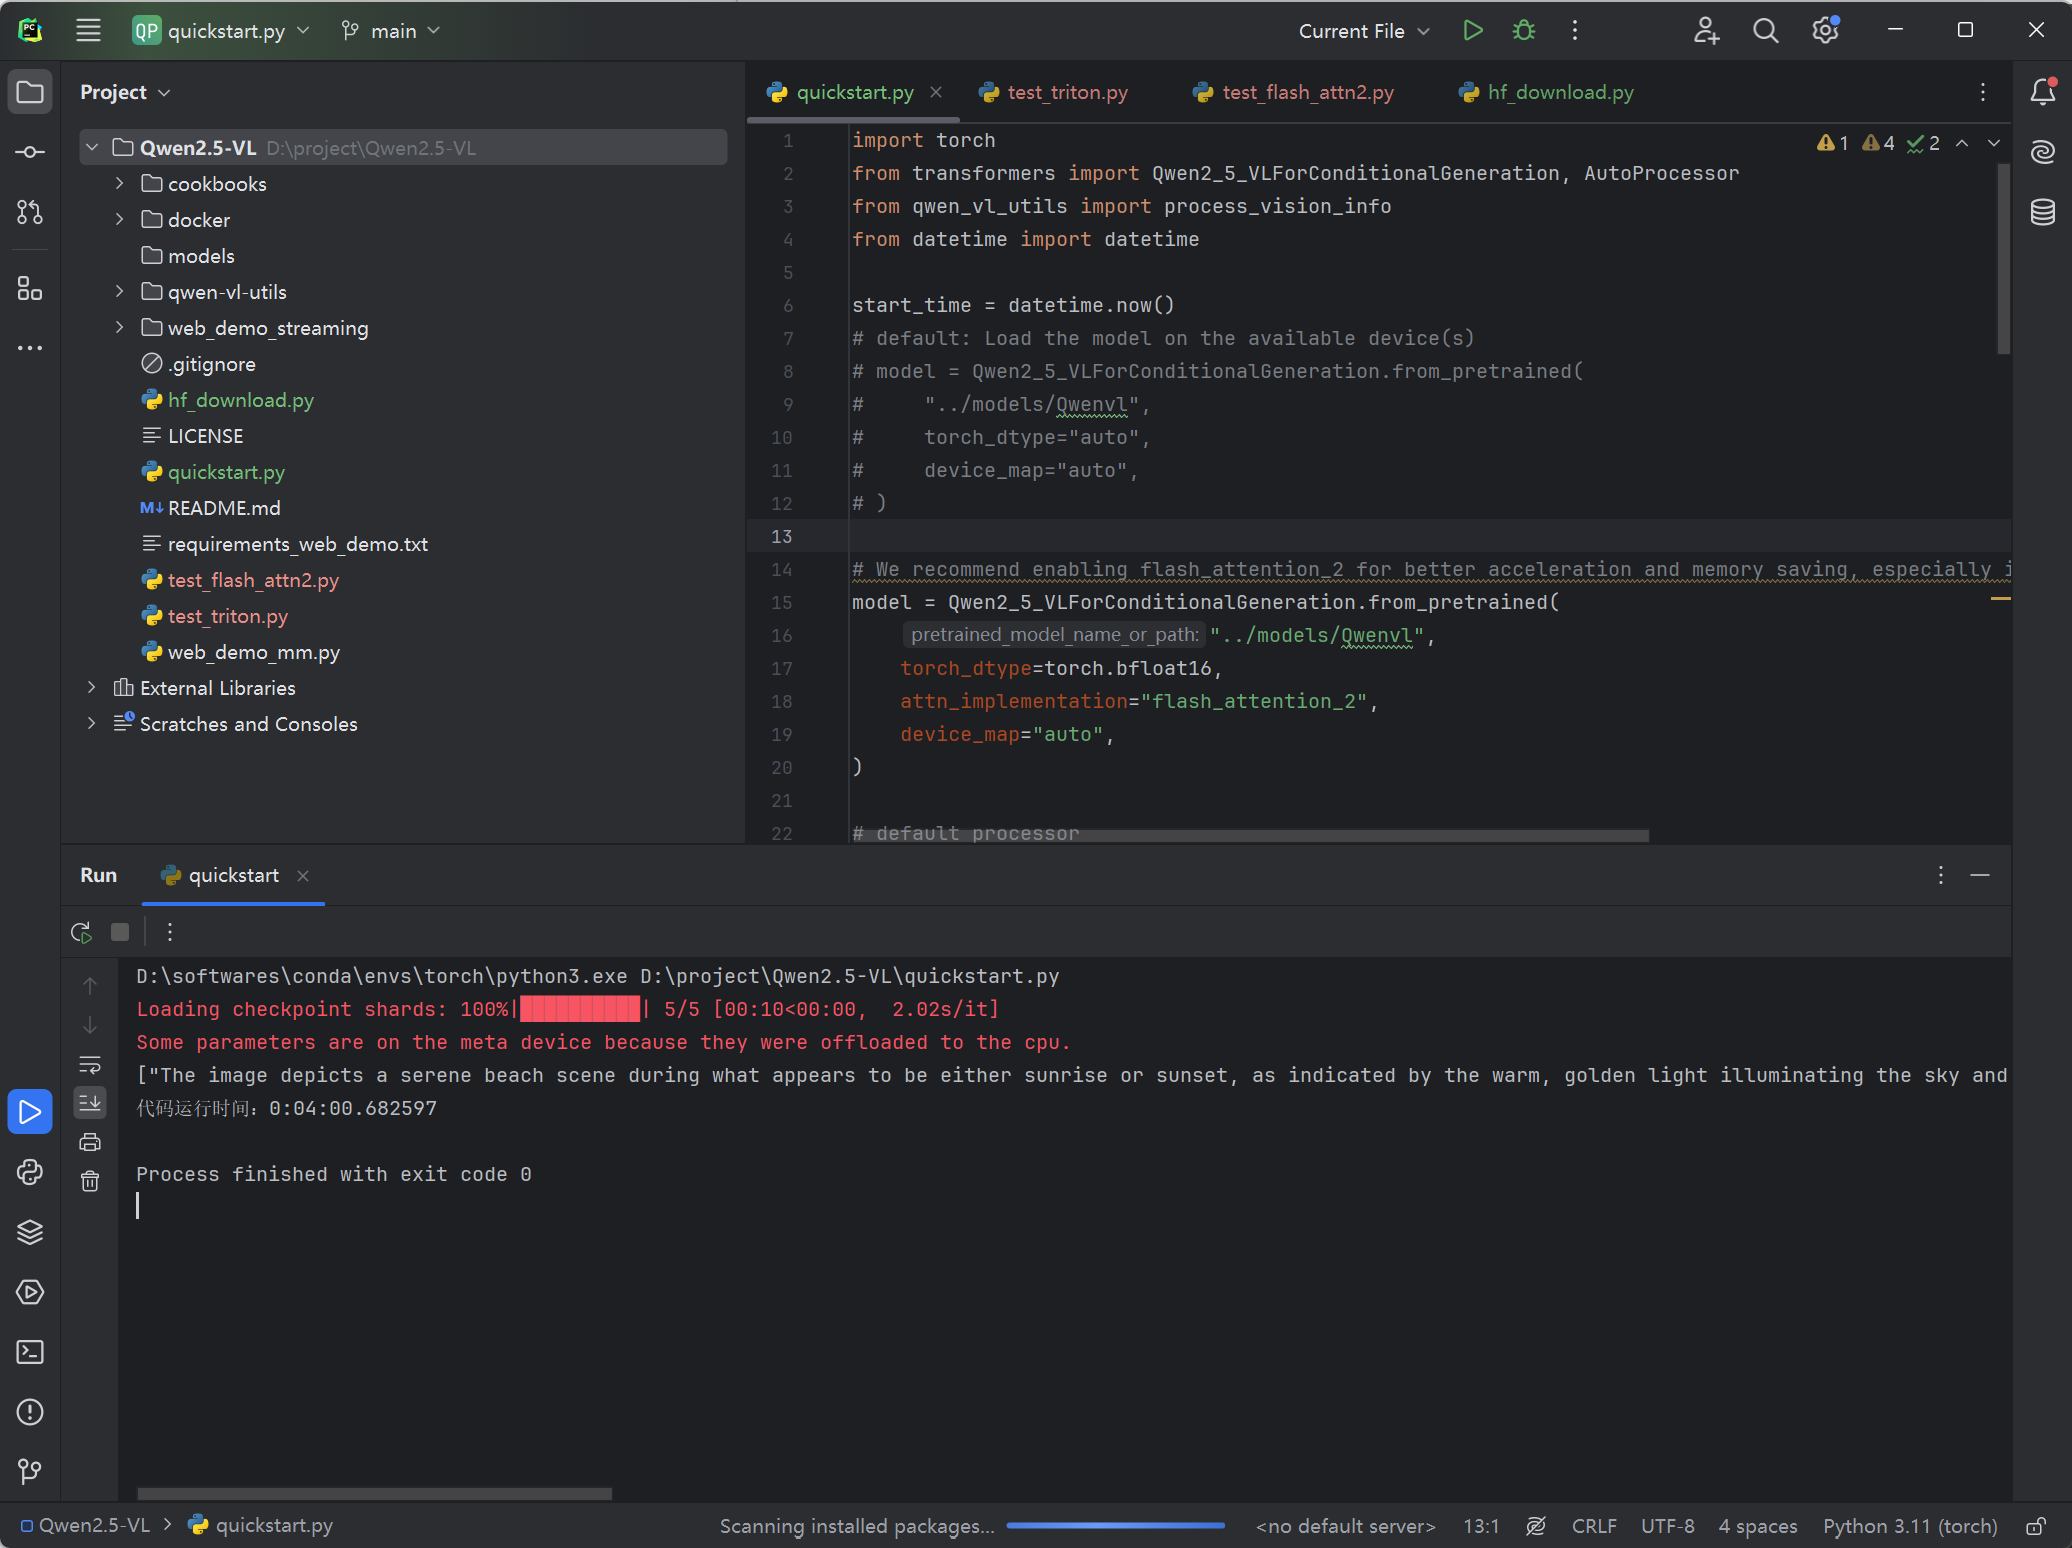
使用flash-attn结果如下:
- 感谢你赐予我前进的力量
-
微信
- 支付宝
赞赏者名单
因为你们的支持让我意识到写文章的价值🙏
本文是原创文章,采用 CC BY-NC-ND 4.0 协议,完整转载请注明来自 Moon
评论
匿名评论
隐私政策
你无需删除空行,直接评论以获取最佳展示效果