
百度飞桨AI达人创造营实战(四)基于Django的生成式学习平台搭建
本文最后更新于 2025-03-29,文章内容可能已经过时。
Django使用基本配置
安装Django
Django 是一个功能强大的 Web 开发框架,支持快速开发高效、稳定的Web 应用。
首先,使用 pip 命令进行安装:
pip install django -i https://mirrors.tuna.tsinghua.edu.cn/pypi/web/simple
# 如需安装指定版本的 Django,例如 2.2 版本,可使用以下命令:
# pip install django==2.2
创建Django项目
选择一个位置,创建新文件夹,打开cmd,进入到此文件夹中,输入以下命令行,创建Django项目,并进入创建的文件夹中
django-admin startproject GLP # 创建一个名为 YourProject 的空白 Django 项目
cd GLP                        # 进入项目目录
运行开发服务器
python manage.py migrate  		  	  #进行文件迁移
python manage.py runserver			  #启动Django的开发服务器。在本地环境中运行网站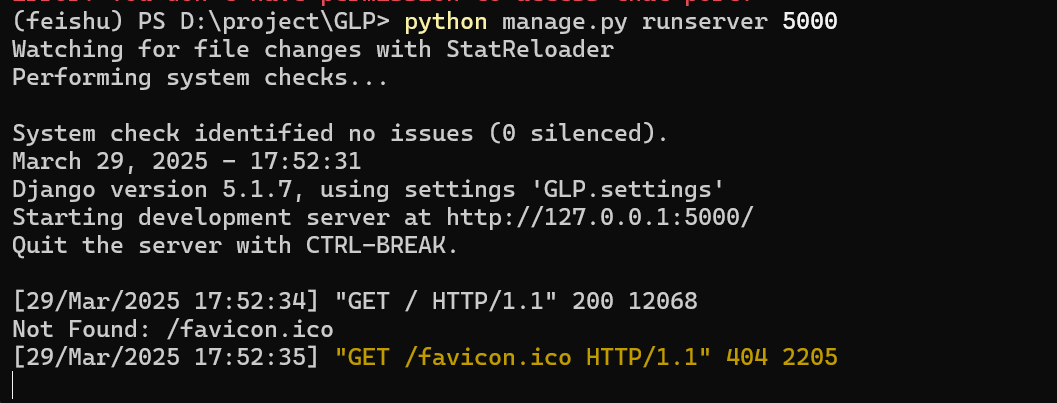
创建APP
Django App 一般分为三大类(根据来源):
内置:即 Django 框架自带的应用,包括 admin(后台管理)、auth(身份鉴权)、sessions(会话管理)等等
自定义:即用来实现我们自身业务逻辑的应用,这里我们将创建一个新闻展示应用
第三方:即社区提供的应用,数量极其丰富,功能涵盖几乎所有方面,能够大大减少开发成本
1.创建自定义APP,运行下方代码
python manage.py startapp new #创建新app名为new2.注册应用
在项目的 settings.py 文件中,找到 INSTALLED_APPS 配置项,并将自定义应用添加到其中。例如,创建一个名为 new 的自定义应用:
INSTALLED_APPS = [
    'django.contrib.admin',
    'django.contrib.auth',
    'django.contrib.contenttypes',
    'django.contrib.sessions',
    'django.contrib.messages',
    'django.contrib.staticfiles',
    'new',							#我们创建的app
]
3.全局路由表
在项目的 urls.py 文件中,添加自定义应用的路由映射:
from django.contrib import admin
from django.urls import path, include

urlpatterns = [
    path('admin/', admin.site.urls),
    path('', include('GLP.urls')),		#添加路由映射
]
展示页面
在 Django 中,页面展示的基本流程包括以下三个步骤:创建 HTML 文件、配置路由路径、定义视图函数。
1.定义视图函数
在 views.py 文件中定义一个简单的视图函数,用于返回页面内容:
from django.http import HttpResponse

def index(request):
    return HttpResponse('Hello World!')		   #页面显示'Hello World!'
2.创建模版文件
在项目根目录下创建一个名为 templates 的文件夹,并在其中创建 index.html 文件。
可以直接使用快捷键:"!+tab",一键填充基础代码。
3.配置模版路径
在 settings.py 文件中,添加模板文件夹的路径:
import os
TEMPLATES = [
    {
        'BACKEND': 'django.template.backends.django.DjangoTemplates',
        'DIRS': [os.path.join(BASE_DIR, '')],	#添加模板文件路径
        'APP_DIRS': True,
        ...
    },
]
完整代码如下:
"""
Django settings for GLP project.

Generated by 'django-admin startproject' using Django 5.1.7.

For more information on this file, see
https://docs.djangoproject.com/en/5.1/topics/settings/

For the full list of settings and their values, see
https://docs.djangoproject.com/en/5.1/ref/settings/
"""

from pathlib import Path
import os

# Build paths inside the project like this: BASE_DIR / 'subdir'.
BASE_DIR = Path(__file__).resolve().parent.parent


# Quick-start development settings - unsuitable for production
# See https://docs.djangoproject.com/en/5.1/howto/deployment/checklist/

# SECURITY WARNING: keep the secret key used in production secret!
SECRET_KEY = "django-insecure-1zeq412ebz(91n_5ivbx3^oeawc7+k0%*0t4p3s#0b51v=im1j"

# SECURITY WARNING: don't run with debug turned on in production!
DEBUG = True

ALLOWED_HOSTS = []


# Application definition

INSTALLED_APPS = [
    "django.contrib.admin",
    "django.contrib.auth",
    "django.contrib.contenttypes",
    "django.contrib.sessions",
    "django.contrib.messages",
    "django.contrib.staticfiles",
    "new",
]

MIDDLEWARE = [
    "django.middleware.security.SecurityMiddleware",
    "django.contrib.sessions.middleware.SessionMiddleware",
    "django.middleware.common.CommonMiddleware",
    "django.middleware.csrf.CsrfViewMiddleware",
    "django.contrib.auth.middleware.AuthenticationMiddleware",
    "django.contrib.messages.middleware.MessageMiddleware",
    "django.middleware.clickjacking.XFrameOptionsMiddleware",
]

ROOT_URLCONF = "GLP.urls"

TEMPLATES = [
    {
        "BACKEND": "django.template.backends.django.DjangoTemplates",
        "DIRS": [os.path.join(BASE_DIR, "templates")],
        "APP_DIRS": True,
        "OPTIONS": {
            "context_processors": [
                "django.template.context_processors.debug",
                "django.template.context_processors.request",
                "django.contrib.auth.context_processors.auth",
                "django.contrib.messages.context_processors.messages",
            ],
        },
    },
]

WSGI_APPLICATION = "GLP.wsgi.application"


# Database
# https://docs.djangoproject.com/en/5.1/ref/settings/#databases

DATABASES = {
    "default": {
        "ENGINE": "django.db.backends.sqlite3",
        "NAME": BASE_DIR / "db.sqlite3",
    }
}


# Password validation
# https://docs.djangoproject.com/en/5.1/ref/settings/#auth-password-validators

AUTH_PASSWORD_VALIDATORS = [
    {
        "NAME": "django.contrib.auth.password_validation.UserAttributeSimilarityValidator",
    },
    {
        "NAME": "django.contrib.auth.password_validation.MinimumLengthValidator",
    },
    {
        "NAME": "django.contrib.auth.password_validation.CommonPasswordValidator",
    },
    {
        "NAME": "django.contrib.auth.password_validation.NumericPasswordValidator",
    },
]


# Internationalization
# https://docs.djangoproject.com/en/5.1/topics/i18n/

LANGUAGE_CODE = "en-us"

TIME_ZONE = "UTC"

USE_I18N = True

USE_TZ = True


# Static files (CSS, JavaScript, Images)
# https://docs.djangoproject.com/en/5.1/howto/static-files/

STATIC_URL = "static/"

# Default primary key field type
# https://docs.djangoproject.com/en/5.1/ref/settings/#default-auto-field

DEFAULT_AUTO_FIELD = "django.db.models.BigAutoField"
4.配置路由
在应用的 urls.py 文件中,添加路由映射,使 URL与视图函数关联:
from django.contrib import admin
from django.urls import path, include
from new import views  # 导入new应用中的views模块

urlpatterns = [
    path('', views.index),						#通过url设置对应的映射
]
5.渲染HTML页面
修改视图函数,使其渲染模板文件
from django.shortcuts import render

def index(request):
    return render(request, 'index.html')
#通过url映射到这个视图函数,该视图函数返回到html页面
目录结构
D:.                                      # 项目根目录
│  .gitignore                           # Git忽略文件,用于指定不需要追踪的文件
│  db.sqlite3                           # SQLite数据库文件
│  manage.py                            # Django命令行工具,用于管理项目
│
├─feishu                                # 主项目包,包含全局设置和配置
│  │  asgi.py                           # ASGI兼容的Web服务器入口
│  │  settings.py                       # 项目全局设置
│  │  urls.py                           # 项目URL声明
│  │  wsgi.py                           # WSGI兼容的Web服务器入口
│  │  __init__.py                       # 使目录成为Python包的文件
│  │
│  ├─templates                          # 项目级模板目录,存放所有应用共享的模板
│  │      index.html                    # 注意:这里也有index.html,可能会和应用级模板冲突
│
└─new                                   # 应用目录,包含特定应用的代码
    │  admin.py                         # Django管理站点配置
    │  apps.py                          # 应用配置
    │  models.py                        # 数据模型定义
    │  tests.py                         # 测试文件
    │  views.py                         # 视图函数/类
    │  __init__.py                      # 使目录成为Python包的文件
    │
    ├─migrations                        # 数据库迁移文件目录
    │  │  __init__.py
    │  │
    │  └─__pycache__
    │          __init__.cpython-310.pyc
    │
    ├─templates                         # 应用级模板目录
    │      index.html                   # 应用级的index.html模板
前端
页面布局
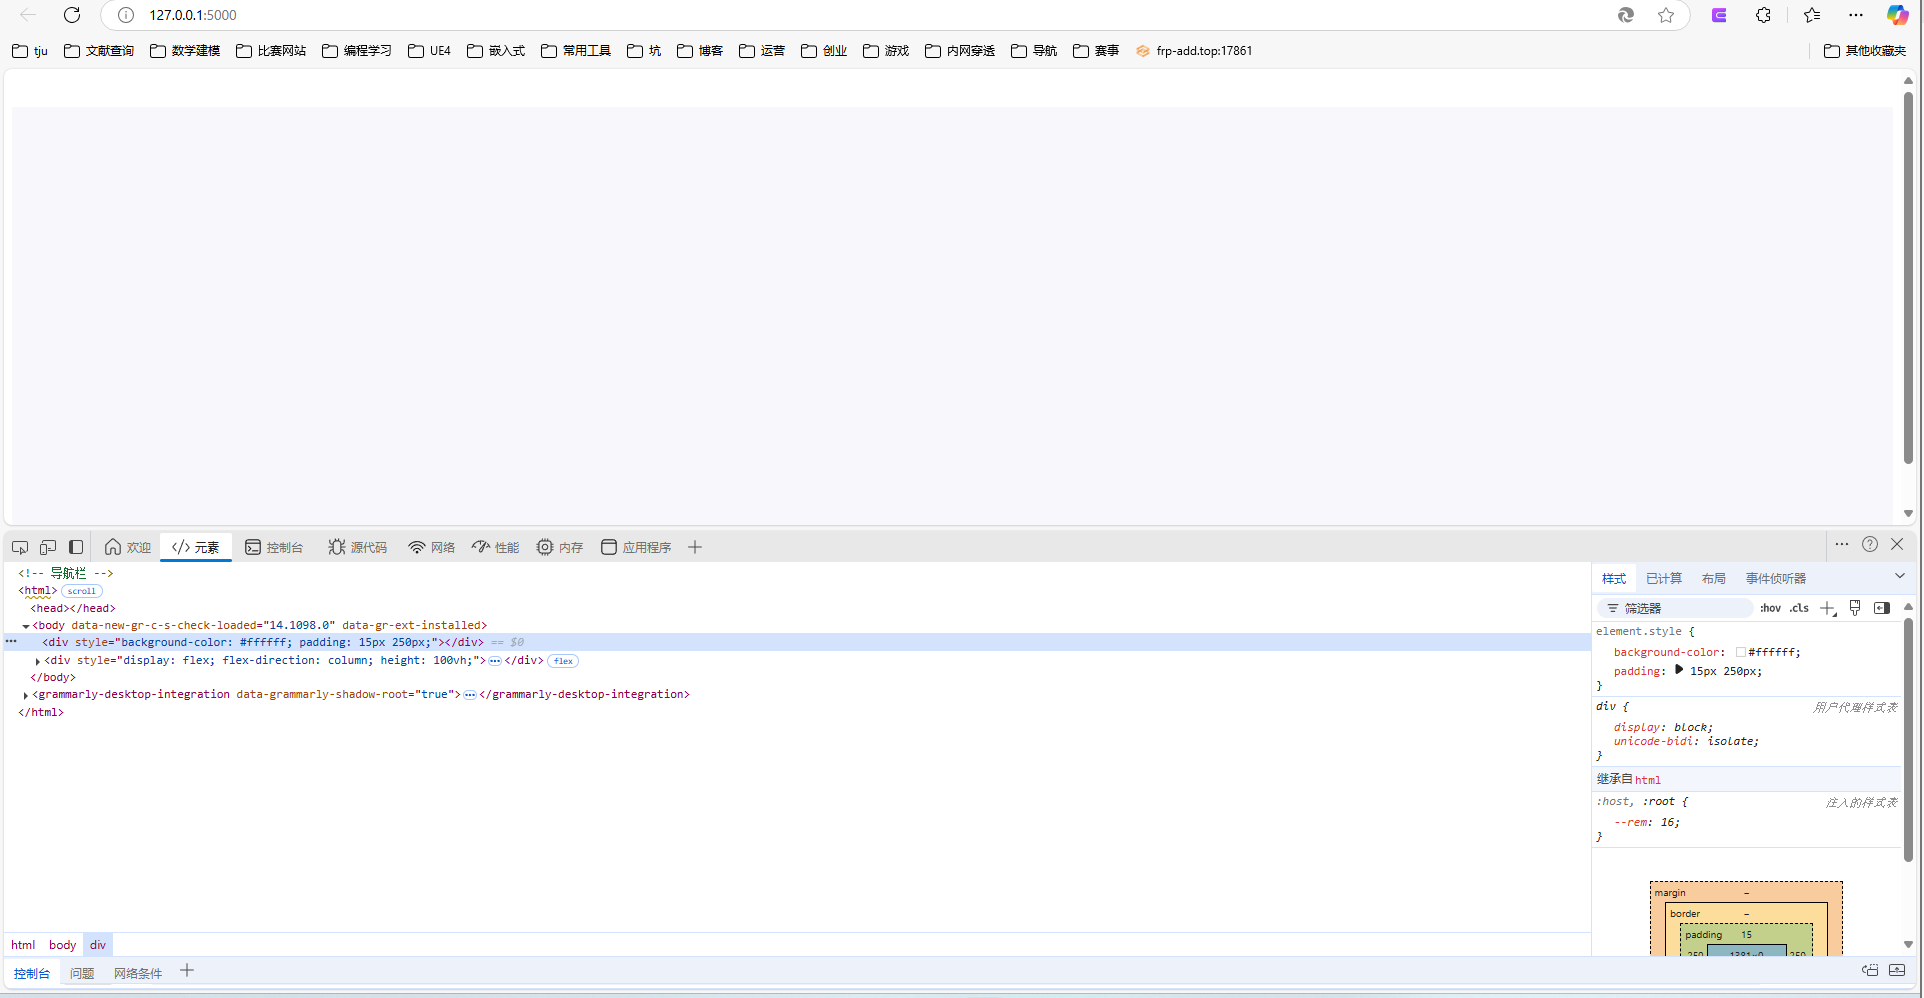
1.页面分区结构
以下是一个简单的页面分区示例,包括导航栏、顶部内容和底部内容:
<!-- 导航栏 -->
<div style="background-color: #ffffff; padding: 15px 250px;"></div>

<div style="display: flex; flex-direction: column; height: 100vh;">
  <!-- 上部分 -->
  <div style="background-color: rgb(248,247,252); flex: 25%;text-align: center;"></div>

  <!-- 下部分 -->
  <div style="background-color: rgb(248,247,252); display: flex; flex-direction: column; flex: 75%;">
    <!-- 下方-----上半部分 -->
    <div style="flex: 50%; display: flex;">
      <!-- 左上分区 -->
      <div style="flex: 50%;"></div>
      <!-- 右上分区 -->
      <div style="flex: 50%;"></div>
    </div>

    <!-- 下方-----下半部分 -->
    <div style="flex: 50%; display: flex;">
      <!-- 左下分区 -->
      <div style="flex: 50%;"></div>
      <!-- 右下分区 -->
      <div style="flex: 50%;"></div>
    </div>
  </div>
</div>
引入静态资源
在根目录下创建static/css 文件夹,并在其中添加index.css 如下:
/* 全局样式重置 */
* {
    margin: 0;
    padding: 0;
    box-sizing: border-box;
    font-family: 'Segoe UI', Tahoma, Geneva, Verdana, sans-serif;
}

body {
    background-color: #f8f7fc;
    color: #333;
    line-height: 1.6;
}

/* 导航栏样式 */
.navbar {
    background-color: #ffffff;
    box-shadow: 0 2px 10px rgba(0, 0, 0, 0.1);
    padding: 15px 250px;
    position: sticky;
    top: 0;
    z-index: 100;
}

/* 布局容器 */
.container {
    display: flex;
    flex-direction: column;
    min-height: 100vh;
}

/* 上部分区域 */
.top-section {
    background-color: rgb(248, 247, 252);
    flex: 25%;
    text-align: center;
    padding: 50px 20px;
    display: flex;
    justify-content: center;
    align-items: center;
}

.top-section h1 {
    font-size: 2.5rem;
    color: #4a4a4a;
    margin-bottom: 20px;
}

.top-section p {
    font-size: 1.2rem;
    color: #777;
    max-width: 800px;
    margin: 0 auto;
}

/* 下部分区域 */
.bottom-section {
    background-color: rgb(248, 247, 252);
    display: flex;
    flex-direction: column;
    flex: 75%;
}

/* 下方上半部分 */
.bottom-top {
    flex: 50%;
    display: flex;
}

/* 下方下半部分 */
.bottom-bottom {
    flex: 50%;
    display: flex;
}

/* 四个分区共同样式 */
.quarter-section {
    flex: 50%;
    padding: 30px;
    margin: 15px;
    background-color: white;
    border-radius: 12px;
    box-shadow: 0 4px 12px rgba(0, 0, 0, 0.05);
    transition: transform 0.3s, box-shadow 0.3s;
}

.quarter-section:hover {
    transform: translateY(-5px);
    box-shadow: 0 6px 16px rgba(0, 0, 0, 0.1);
}

.quarter-section h2 {
    font-size: 1.5rem;
    color: #4a4a4a;
    margin-bottom: 15px;
    border-bottom: 2px solid #f0f0f0;
    padding-bottom: 10px;
}

.quarter-section p {
    color: #666;
}

/* 响应式布局 */
@media (max-width: 768px) {
    .bottom-top, .bottom-bottom {
        flex-direction: column;
    }
    .quarter-section {
        margin: 10px 15px;
    }
    .navbar {
        padding: 15px 20px;
    }
}
在 settings.py 文件中配置静态资源路径:
STATIC_URL = 'static/'
STATICFILES_DIRS = [os.path.join(BASE_DIR, '')]	# 指定静态资源路径
在 HTML 文件中通过 {% static %} 标签引入静态资源,修改index.html如下
{% load static %}
<link rel="stylesheet" href="{% static 'css/index.css' %}">
<!-- 导航栏 -->
<div class="navbar"></div>

<div class="container">
  <!-- 上部分 -->
  <div class="top-section">
    <div>
      <h1>欢迎使用GLP应用</h1>
      <p>这是一个基于Django开发的现代化Web应用</p>
    </div>
  </div>

  <!-- 下部分 -->
  <div class="bottom-section">
    <!-- 下方-----上半部分 -->
    <div class="bottom-top">
      <!-- 左上分区 -->
      <div class="quarter-section">
        <h2>功能一</h2>
        <p>这里是功能一的详细介绍,您可以在这里添加具体的功能描述。</p>
      </div>
      <!-- 右上分区 -->
      <div class="quarter-section">
        <h2>功能二</h2>
        <p>这里是功能二的详细介绍,您可以在这里添加具体的功能描述。</p>
      </div>
    </div>

    <!-- 下方-----下半部分 -->
    <div class="bottom-bottom">
      <!-- 左下分区 -->
      <div class="quarter-section">
        <h2>功能三</h2>
        <p>这里是功能三的详细介绍,您可以在这里添加具体的功能描述。</p>
      </div>
      <!-- 右下分区 -->
      <div class="quarter-section">
        <h2>功能四</h2>
        <p>这里是功能四的详细介绍,您可以在这里添加具体的功能描述。</p>
      </div>
    </div>
  </div>
</div>
前端完整代码
{% load static %}
<!DOCTYPE html>
<html lang="en">
<head>
    <meta charset="UTF-8">
    <meta http-equiv="X-UA-Compatible" content="IE=edge">
    <meta name="viewport" content="width=device-width, initial-scale=1.0">
    <title>文心小课堂</title>
    <link rel="stylesheet" href="{% static 'css/index.css' %}">

</head>
<body>
    <!-- 导航栏 -->
    <div class="navbar">
        <a href="./" class="title">
          <strong>文心小课堂</strong>
        </a>
    </div>

    <div class="container">
        <!-- 上部分 -->
      <div class="top-section">

        <h1 style="font-family:'黑体';font-size: 40px;">
            新一代交互式知识学习引擎
        </h1>
        <form style="margin-top: 3%;" onsubmit="return false;" >
            <div style="display: flex; justify-content: center;">
                <div style="display: flex; justify-content: center; align-items: center;">
                  <!-- 选项框位置 -->

                  <select id="modelSelect" class="index_ModelSelect">
                      <option value="ernie-3.5-8k">ernie-3.5-8k</option>
                      <option value="ernie-4.5-8k-preview">ernie-4.5-8k-preview</option>
                      <option value="ernie-4.0-8k">ernie-4.0-8k</option>
                      <option value="deepseek-v3">deepseek-v3</option>
                  </select>


                  <input id="question" class="index_Question" placeholder="请输入您的问题">
                  <button class="btn" onclick="submitQuestion(this)">
                    开始学习
                  </button>
                </div>
            </div>
        </form>
        <p>
            尝试输入"机器学习"等你要学习的关键词
        </p>
       </div>

      <!-- 下部分 -->
      <div id="section" class="bottom-section" style="display: none;"><!-- 子元素按照垂直方向向下排序 -->
        <!-- 下方-----上半部分 -->
        <div class="bottom-top">
            <!-- 左上分区 -->
            <div style="flex: 50%;">
                <a style="color: rgb(83, 83, 83); cursor: pointer;"  onclick="sendDataToModPage('title-box1', 'content-box1');">
                    <div class="carddiy">
                      <div class="top">
                        <svg xmlns="http://www.w3.org/2000/svg" class="svg2" height="1em" viewBox="0 0 576 512">
                          <path d="M386.539 111.485l15.096 248.955-10.979-.275c-36.232-.824-71.64 8.783-102.657 27.997-31.016-19.214-66.424-27.997-102.657-27.997-45.564 0-82.07 10.705-123.516 27.723L93.117 129.6c28.546-11.803 61.484-18.115 92.226-18.115 41.173 0 73.836 13.175 102.657 42.544 27.723-28.271 59.013-41.721 98.539-42.544zM569.07 448c-25.526 0-47.485-5.215-70.542-15.645-34.31-15.645-69.993-24.978-107.871-24.978-38.977 0-74.934 12.901-102.657 40.623-27.723-27.723-63.68-40.623-102.657-40.623-37.878 0-73.561 9.333-107.871 24.978C55.239 442.236 32.731 448 8.303 448H6.93L49.475 98.859C88.726 76.626 136.486 64 181.775 64 218.83 64 256.984 71.685 288 93.095 319.016 71.685 357.17 64 394.225 64c45.289 0 93.049 12.626 132.3 34.859L569.07 448zm-43.368-44.741l-34.036-280.246c-30.742-13.999-67.248-21.41-101.009-21.41-38.428 0-74.385 12.077-102.657 38.702-28.272-26.625-64.228-38.702-102.657-38.702-33.761 0-70.267 7.411-101.009 21.41L50.298 403.259c47.211-19.487 82.894-33.486 135.045-33.486 37.604 0 70.817 9.606 102.657 29.644 31.84-20.038 65.052-29.644 102.657-29.644 52.151 0 87.834 13.999 135.045 33.486z"/>
                        </svg>
                      </div>
                      <div style="text-align: left; padding-left: 10px; margin: 0; margin-top: 3%;">
                        <h6 class="bottom" id="title-box1"></h6>
                        <p id="content-box1"></p>
                      </div>
                    </div>
                  </a>
            </div>
            <!-- 右上分区 -->
            <div style="flex: 50%;">
                <a style="color: rgb(83, 83, 83); cursor: pointer;"  onclick="sendDataToModPage('title-box2', 'content-box2');">
                    <div class="carddiy">
                      <div class="top">
                        <svg xmlns="http://www.w3.org/2000/svg" class="svg2" height="1em" viewBox="0 0 576 512">
                          <path d="M386.539 111.485l15.096 248.955-10.979-.275c-36.232-.824-71.64 8.783-102.657 27.997-31.016-19.214-66.424-27.997-102.657-27.997-45.564 0-82.07 10.705-123.516 27.723L93.117 129.6c28.546-11.803 61.484-18.115 92.226-18.115 41.173 0 73.836 13.175 102.657 42.544 27.723-28.271 59.013-41.721 98.539-42.544zM569.07 448c-25.526 0-47.485-5.215-70.542-15.645-34.31-15.645-69.993-24.978-107.871-24.978-38.977 0-74.934 12.901-102.657 40.623-27.723-27.723-63.68-40.623-102.657-40.623-37.878 0-73.561 9.333-107.871 24.978C55.239 442.236 32.731 448 8.303 448H6.93L49.475 98.859C88.726 76.626 136.486 64 181.775 64 218.83 64 256.984 71.685 288 93.095 319.016 71.685 357.17 64 394.225 64c45.289 0 93.049 12.626 132.3 34.859L569.07 448zm-43.368-44.741l-34.036-280.246c-30.742-13.999-67.248-21.41-101.009-21.41-38.428 0-74.385 12.077-102.657 38.702-28.272-26.625-64.228-38.702-102.657-38.702-33.761 0-70.267 7.411-101.009 21.41L50.298 403.259c47.211-19.487 82.894-33.486 135.045-33.486 37.604 0 70.817 9.606 102.657 29.644 31.84-20.038 65.052-29.644 102.657-29.644 52.151 0 87.834 13.999 135.045 33.486z"/>
                        </svg>
                      </div>
                      <div style="text-align: left; padding-left: 10px; margin: 0; margin-top: 3%;">
                        <h6 class="bottom" id="title-box2"></h6>
                        <p id="content-box2"></p>
                      </div>
                    </div>
                  </a>
            </div>
        </div>

        <!-- 下方-----下半部分 -->
        <div class="bottom-bottom">
            <!-- 左下分区 -->
            <div style="flex: 50%;">
                <a style="color: rgb(83, 83, 83); cursor: pointer;"  onclick="sendDataToModPage('title-box3', 'content-box3');">
                    <div class="carddiy">
                      <div class="top">
                        <svg xmlns="http://www.w3.org/2000/svg" class="svg2" height="1em" viewBox="0 0 576 512">
                          <path d="M386.539 111.485l15.096 248.955-10.979-.275c-36.232-.824-71.64 8.783-102.657 27.997-31.016-19.214-66.424-27.997-102.657-27.997-45.564 0-82.07 10.705-123.516 27.723L93.117 129.6c28.546-11.803 61.484-18.115 92.226-18.115 41.173 0 73.836 13.175 102.657 42.544 27.723-28.271 59.013-41.721 98.539-42.544zM569.07 448c-25.526 0-47.485-5.215-70.542-15.645-34.31-15.645-69.993-24.978-107.871-24.978-38.977 0-74.934 12.901-102.657 40.623-27.723-27.723-63.68-40.623-102.657-40.623-37.878 0-73.561 9.333-107.871 24.978C55.239 442.236 32.731 448 8.303 448H6.93L49.475 98.859C88.726 76.626 136.486 64 181.775 64 218.83 64 256.984 71.685 288 93.095 319.016 71.685 357.17 64 394.225 64c45.289 0 93.049 12.626 132.3 34.859L569.07 448zm-43.368-44.741l-34.036-280.246c-30.742-13.999-67.248-21.41-101.009-21.41-38.428 0-74.385 12.077-102.657 38.702-28.272-26.625-64.228-38.702-102.657-38.702-33.761 0-70.267 7.411-101.009 21.41L50.298 403.259c47.211-19.487 82.894-33.486 135.045-33.486 37.604 0 70.817 9.606 102.657 29.644 31.84-20.038 65.052-29.644 102.657-29.644 52.151 0 87.834 13.999 135.045 33.486z"/>
                        </svg>
                      </div>
                      <div style="text-align: left; padding-left: 10px; margin: 0; margin-top: 3%;">
                        <h6 id="title-box3"></h6>
                        <p id="content-box3"></p>
                      </div>
                    </div>
                  </a>
            </div>
            <!-- 右下分区 -->
            <div style="flex: 50%;">
                <a style="color: rgb(83, 83, 83); cursor: pointer;"  onclick="sendDataToModPage('title-box4', 'content-box4');">
                    <div class="carddiy">
                      <div class="top">
                        <svg xmlns="http://www.w3.org/2000/svg" class="svg2" height="1em" viewBox="0 0 576 512">
                          <path d="M386.539 111.485l15.096 248.955-10.979-.275c-36.232-.824-71.64 8.783-102.657 27.997-31.016-19.214-66.424-27.997-102.657-27.997-45.564 0-82.07 10.705-123.516 27.723L93.117 129.6c28.546-11.803 61.484-18.115 92.226-18.115 41.173 0 73.836 13.175 102.657 42.544 27.723-28.271 59.013-41.721 98.539-42.544zM569.07 448c-25.526 0-47.485-5.215-70.542-15.645-34.31-15.645-69.993-24.978-107.871-24.978-38.977 0-74.934 12.901-102.657 40.623-27.723-27.723-63.68-40.623-102.657-40.623-37.878 0-73.561 9.333-107.871 24.978C55.239 442.236 32.731 448 8.303 448H6.93L49.475 98.859C88.726 76.626 136.486 64 181.775 64 218.83 64 256.984 71.685 288 93.095 319.016 71.685 357.17 64 394.225 64c45.289 0 93.049 12.626 132.3 34.859L569.07 448zm-43.368-44.741l-34.036-280.246c-30.742-13.999-67.248-21.41-101.009-21.41-38.428 0-74.385 12.077-102.657 38.702-28.272-26.625-64.228-38.702-102.657-38.702-33.761 0-70.267 7.411-101.009 21.41L50.298 403.259c47.211-19.487 82.894-33.486 135.045-33.486 37.604 0 70.817 9.606 102.657 29.644 31.84-20.038 65.052-29.644 102.657-29.644 52.151 0 87.834 13.999 135.045 33.486z"/>
                        </svg>
                      </div>
                      <div style="text-align: left; padding-left: 10px; margin: 0; margin-top: 3%;">
                        <h6 class="bottom" id="title-box4"></h6>
                        <p id="content-box4"></p>
                      </div>
                    </div>
                  </a>
            </div>
        </div>
      </div>
    </div>

    <script>
        let question = "";
        function submitQuestion(buttonElement) {
            const questionInput = document.getElementById('question').value.trim(); // 去除输入内容的前后空格
            const modelSelect = document.getElementById('modelSelect').value; // 获取选中的模型名称
            if (questionInput === "") {
                return; // 如果输入为空,不执行后续操作
            }
            // 禁用按钮,并更改文本以表示正在加载
            buttonElement.innerText = '正在加载...';
            buttonElement.disabled = true;
            // 将问题赋值给 question 变量
            question = questionInput;
            fetch(`/ask?question=${encodeURIComponent(question)}&model=${encodeURIComponent(modelSelect)}`)
                .then(response => response.json())
                .then(data => {
                    console.log(data);
                    const moduleTitles = [];
                    const moduleContents = [];
                    const sectionElement = document.getElementById("mySection");
                    for (let i = 0; i < data.length; i++) {
                        let moduleTitle = data[i]["模块主题"];
                        let moduleContent = data[i]["本模块内容简介"];
                        moduleTitles.push(moduleTitle);
                        moduleContents.push(moduleContent);
                        document.getElementById(`title-box${i + 1}`).innerText = moduleTitle;
                        document.getElementById(`content-box${i + 1}`).innerText = moduleContent;
                        const section = document.getElementById("section");
                        section.style.display = "flex";
                    }
                    // 恢复按钮状态
                    buttonElement.innerText = '开始学习';
                    buttonElement.disabled = false;
                })
                .catch((error) => {
                    console.error('Error:', error);
                    // 恢复按钮状态
                    buttonElement.innerText = '开始学习';
                    buttonElement.disabled = false;
                });
        }
    </script>

</body>
</html>
修改index.css使其更加美观
/* 全局样式重置 */
* {
margin: 0;
padding: 0;
box-sizing: border-box;
font-family: 'Segoe UI', 'Microsoft YaHei', '微软雅黑', Tahoma, Geneva, Verdana, sans-serif;
}
body {
background-color: #f8f7fc;
color: #333;
line-height: 1.6;
margin: 0;
}
/* 导航栏样式 */
.navbar {
background-color: #ffffff;
box-shadow: 0 2px 10px rgba(0, 0, 0, 0.1);
padding: 15px 250px;
position: sticky;
top: 0;
z-index: 100;
display: flex;
align-items: center;
}
.title {
text-decoration: none;
color: #6c38d8;
font-size: 22px;
transition: color 0.3s;
}
.title:hover {
color: #8052e2;
}
/* 布局容器 */
.container {
display: flex;
flex-direction: column;
min-height: 100vh;
}
/* 上部分区域 */
.top-section {
background-color: rgb(248, 247, 252);
flex: 25%;
text-align: center;
padding: 50px 20px;
display: flex;
flex-direction: column;
justify-content: center;
align-items: center;
}
.top-section h1 {
font-size: 2.5rem;
color: #4a4a4a;
margin-bottom: 35px;
max-width: 800px;
}
.top-section p {
font-size: 1.2rem;
color: #777;
margin-top: 20px;
}
/* 表单元素样式 */
.index_ModelSelect {
padding: 12px 15px;
border: 1px solid #ddd;
border-radius: 8px;
margin-right: 10px;
background-color: white;
color: #444;
font-size: 15px;
box-shadow: 0 2px 5px rgba(0,0,0,0.05);
width: 180px;
cursor: pointer;
outline: none;
transition: all 0.3s;
}
.index_ModelSelect:hover {
border-color: #b197fc;
}
.index_ModelSelect:focus {
border-color: #8c6be6;
box-shadow: 0 0 0 2px rgba(177, 151, 252, 0.25);
}
.index_Question {
padding: 12px 20px;
border: 1px solid #ddd;
border-radius: 8px;
margin: 0 10px;
width: 350px;
font-size: 15px;
color: #333;
box-shadow: 0 2px 5px rgba(0,0,0,0.05);
outline: none;
transition: all 0.3s;
}
.index_Question:hover {
border-color: #b197fc;
}
.index_Question:focus {
border-color: #8c6be6;
box-shadow: 0 0 0 2px rgba(177, 151, 252, 0.25);
}
.btn {
background-color: #8c6be6;
color: white;
border: none;
padding: 12px 25px;
border-radius: 8px;
cursor: pointer;
font-size: 15px;
font-weight: 500;
box-shadow: 0 3px 6px rgba(140, 107, 230, 0.3);
transition: all 0.3s ease;
}
.btn:hover {
background-color: #7452d8;
transform: translateY(-2px);
box-shadow: 0 5px 12px rgba(140, 107, 230, 0.4);
}
.btn:active {
transform: translateY(0);
}
.btn:disabled {
background-color: #b5a7e0;
cursor: not-allowed;
transform: none;
box-shadow: none;
}
/* 下部分区域 */
.bottom-section {
background-color: rgb(248, 247, 252);
display: flex;
flex-direction: column;
flex: 75%;
padding: 0 20px 40px;
}
/* 下方上半部分 */
.bottom-top {
flex: 50%;
display: flex;
}
/* 下方下半部分 */
.bottom-bottom {
flex: 50%;
display: flex;
}
/* 卡片样式 */
.carddiy {
background-color: white;
border-radius: 12px;
box-shadow: 0 4px 15px rgba(0, 0, 0, 0.05);
overflow: hidden;
transition: transform 0.3s, box-shadow 0.3s;
height: 230px;
width: 60%;
margin-top: 3%;
position: relative;
cursor: pointer;
}
.carddiy:hover {
transform: translateY(-5px);
box-shadow: 0 8px 20px rgba(0, 0, 0, 0.1);
}
.carddiy .top {
padding: 15px;
background: linear-gradient(135deg, #f2ebff 0%, #e9e1ff 100%);
display: flex;
align-items: center;
}
.carddiy h6 {
font-size: 24px;
margin: 0;
font-weight: 600;
color: #4a4a4a;
border-bottom: 1px solid #f0f0f0;
padding-bottom: 8px;
}
.carddiy p {
font-size: 15px;
color: #666;
line-height: 1.6;
display: -webkit-box;
-webkit-line-clamp: 4;
-webkit-box-orient: vertical;
overflow: hidden;
text-overflow: ellipsis;
}
/* SVG 图标样式 */
.svg2 {
fill: #8c6be6;
height: 35px;
width: 35px;
transition: transform 0.3s;
}
.carddiy:hover .svg2 {
transform: scale(1.1);
}
/* 响应式布局 */
@media (max-width: 1200px) {
.navbar {
padding: 15px 100px;
}
.carddiy {
width: 80%;
}
}
@media (max-width: 992px) {
.navbar {
padding: 15px 50px;
}
.index_Question {
width: 250px;
}
}
@media (max-width: 768px) {
.bottom-top, .bottom-bottom {
flex-direction: column;
}
.carddiy {
width: 85%;
margin: 15px auto;
}
.navbar {
padding: 15px 20px;
}
.index_ModelSelect, .index_Question, .btn {
width: 100%;
margin: 8px 0;
}
form div {
flex-direction: column;
}
.top-section h1 {
font-size: 1.8rem;
}
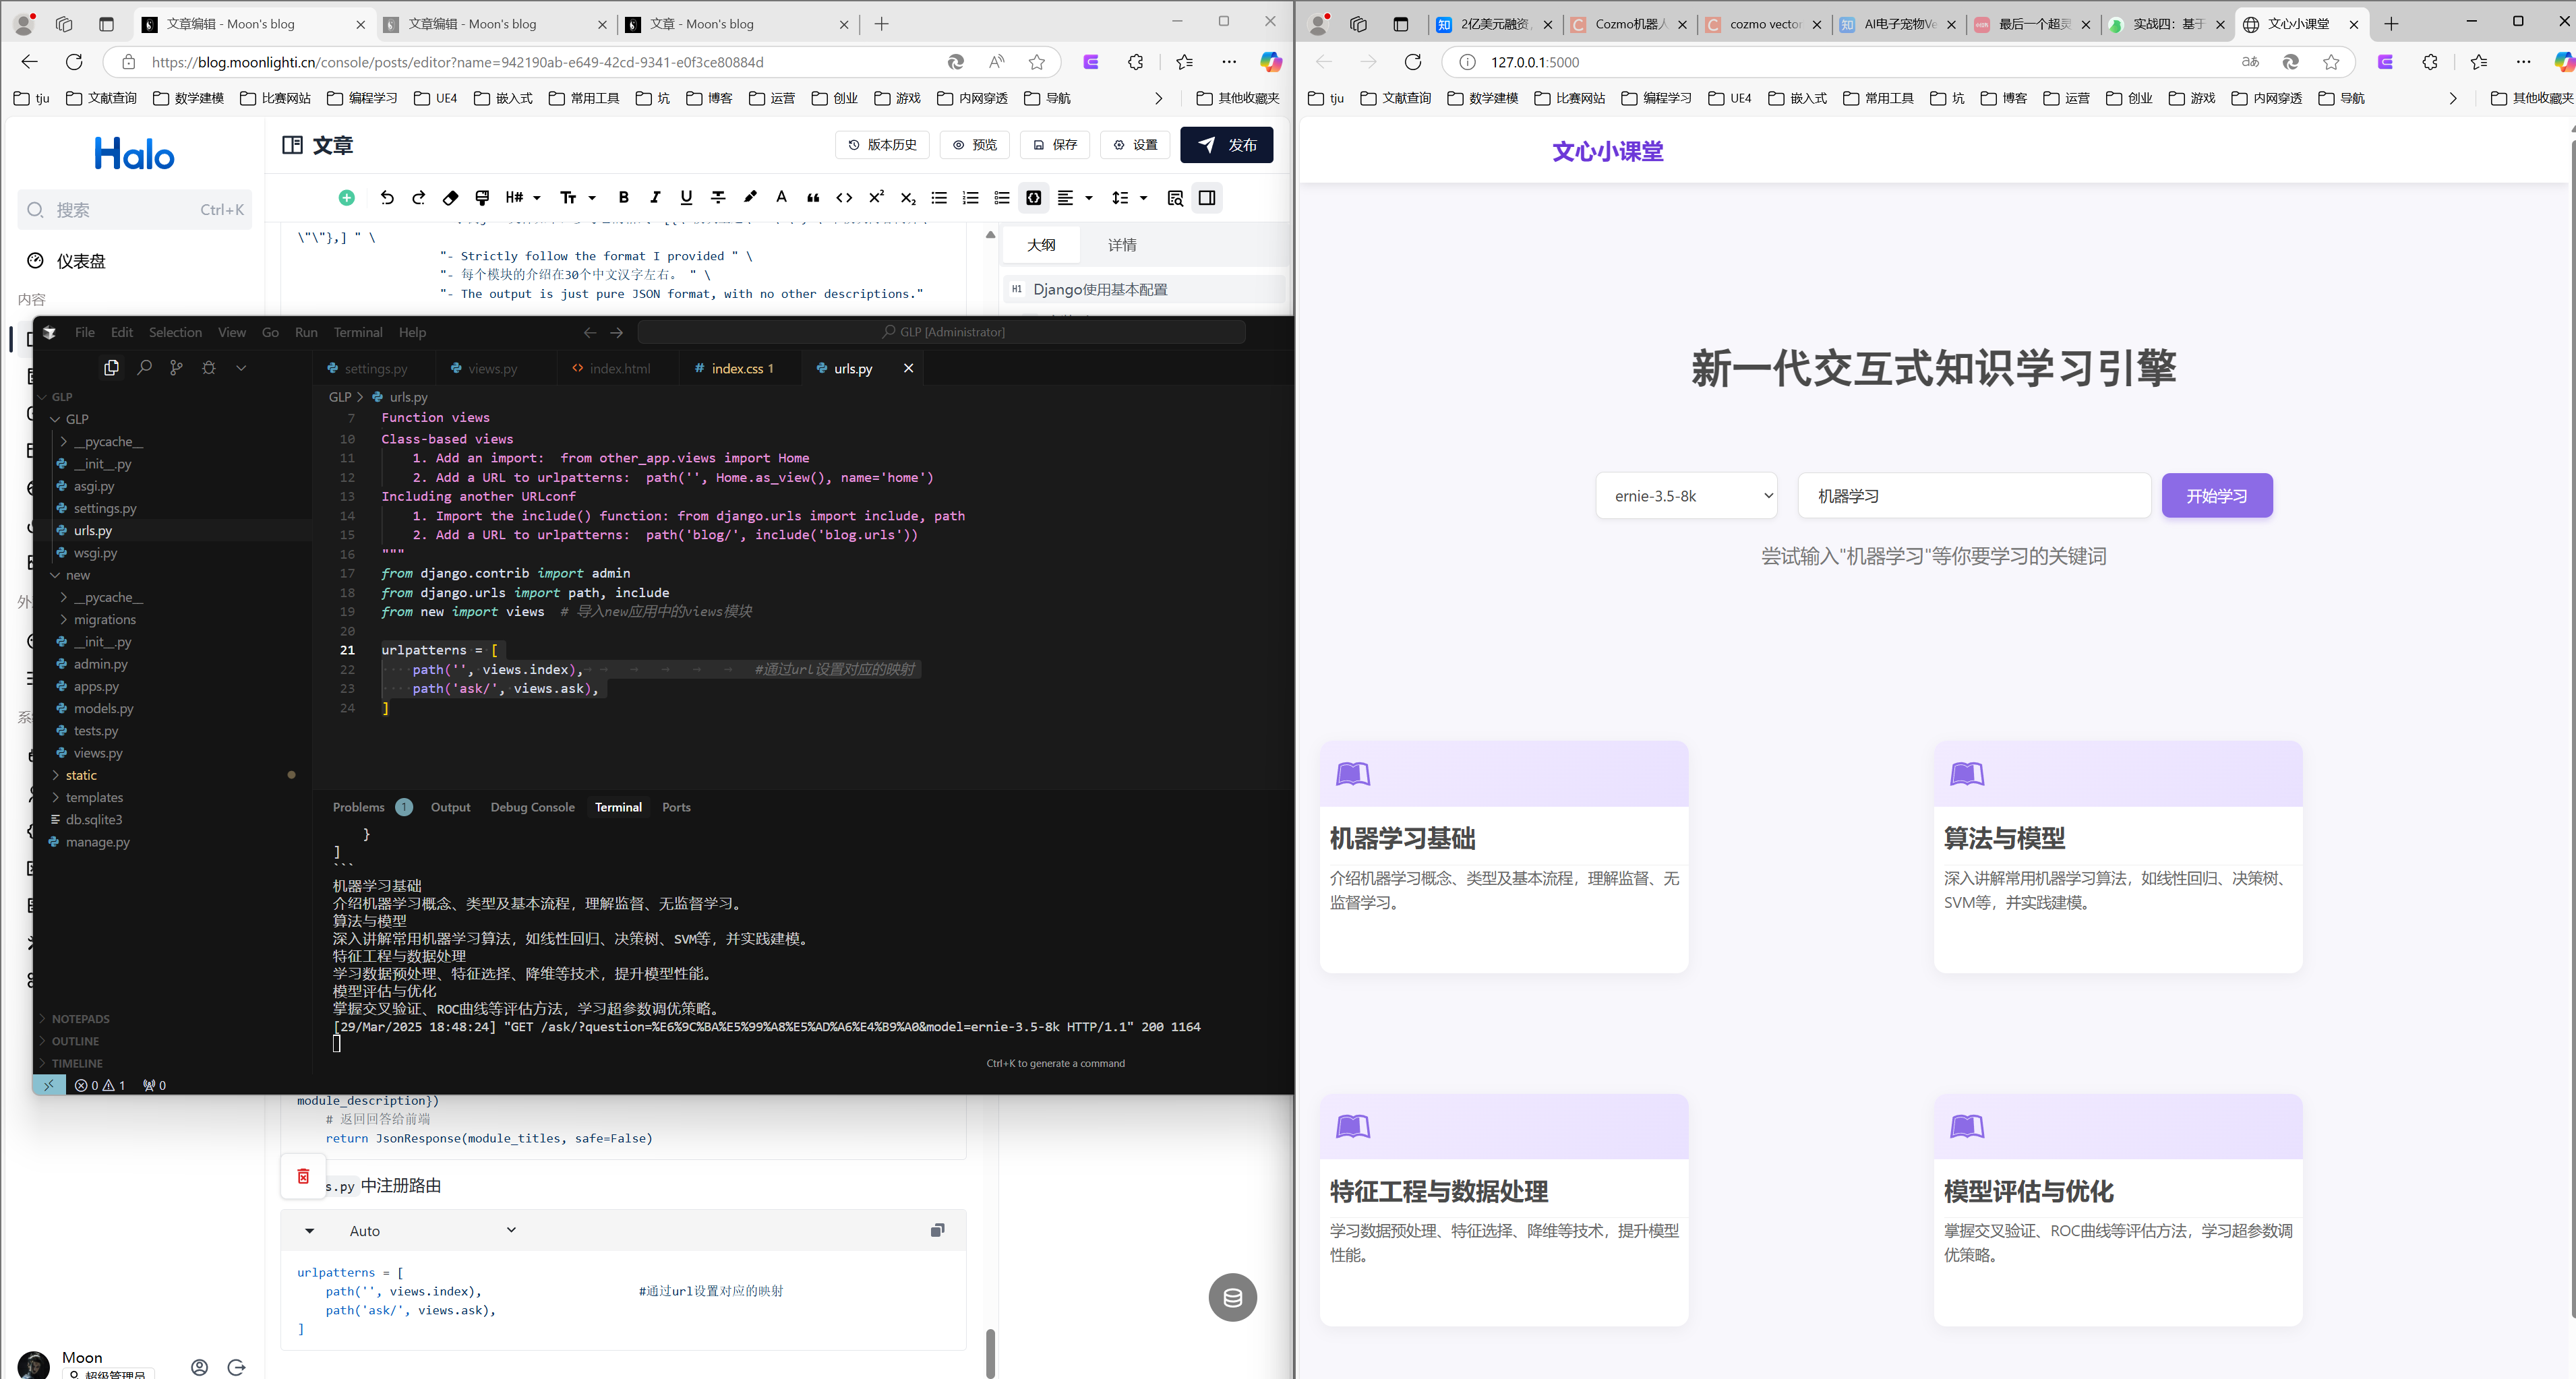
} 效果如图所示

后端
千帆大模型调用
https://cloud.baidu.com/doc/WENXINWORKSHOP/s/Fm2vrveyu
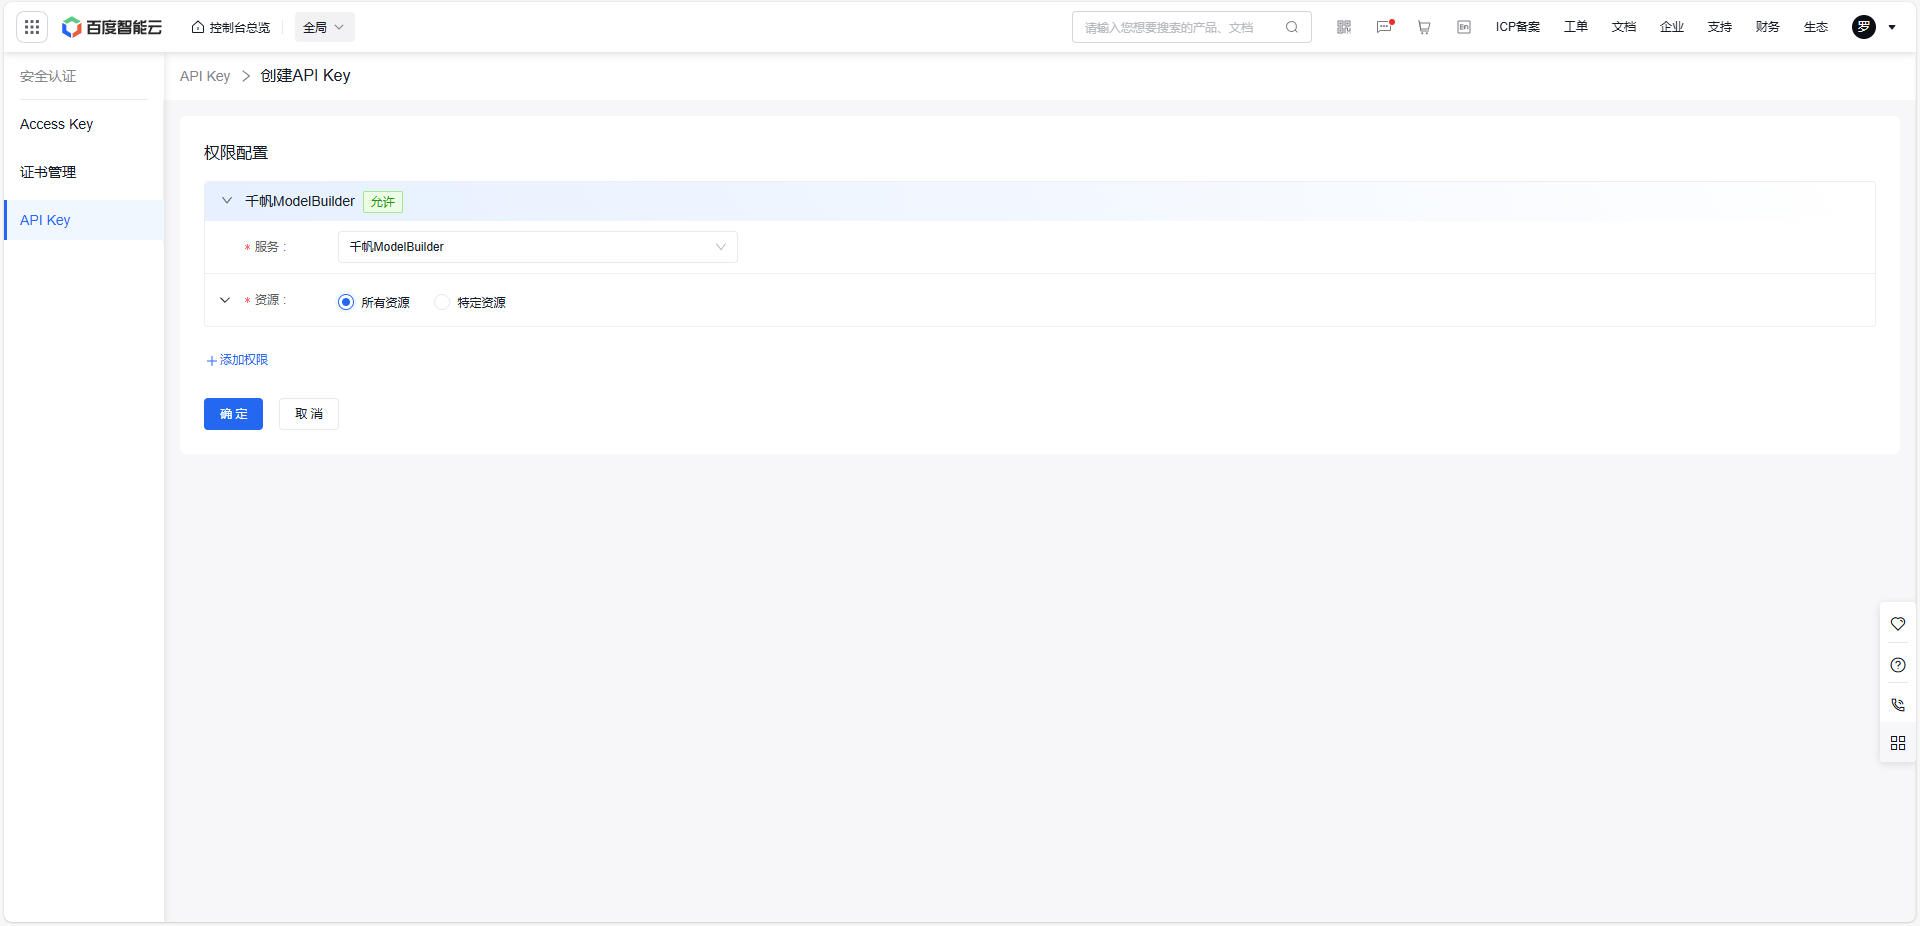
复制API Key 后续会使用
接下来安装 OpenAI SDK包以及相关依赖
pip install openai erniebot -i https://mirrors.tuna.tsinghua.edu.cn/pypi/web/simple # 安装 OpenAI SDK 在后端 views.py 中导入 OpenAI SDK
from openai import OpenAI
client = OpenAI(
    base_url='https://qianfan.baidubce.com/v2',
    api_key=''			#填入个人的api-key值
)
response = client.chat.completions.create(
    model=model,
    messages=[
        {
            "role": "user",
            'top_p': '0.001',
            'content': message_content
        }
    ]
)你可以在此模块选择合适的模型进行调用,此处添加了前后端的交互,可以在前端设置不同的模型选项,用户在此处进行模型切换,并同步到后端,示例中给出的有ernie-4.5-8k-preview、ernie-4.0-8k、ernie-3.5-8k、deepseek-v3这四种,当然可以根据需求添加其他模型输入。
prompt
目的:让大模型更好的为我们所用
内容:教导prompt基本原则与现场测试
两个例子:
1.我想学习一门课程,内容关于机器学习,请帮我指定一个学习路线,给出4个模块

2. The task scenario is: I need you to refine the knowledge points I provide into four small modules to help me learn.
The best way to refine is to follow a good learning path, and you need to stand from the perspective of a teacher to help me learn the knowledge well.
对每个模块进行介绍,让读者能够直观的知道该模块的学习内容 我提供的知识点为:机器学习
示例json文件如下,参考它的格式:[{"模块主题": "", "本模块内容简介": ""},]
Strictly follow the format I provided
每个模块的介绍在30个中文汉字左右。
 The output is just pure JSON format, with no other descriptions.
秘诀:
①指定角色
②告诉大模型你是谁,你在哪,你要干什么
③规定格式、需要严格要求的放在prompt最后
④使用中英混合-有些句子大模型对英文理解较好
⑤使用符号,如分点阐述使用-或·,以及<>
example:
-The task scenario is: I will provide you with the <theme> and <content> that I want to learn. You need to stand from the teacher's perspective to help me learn knowledge well, and according to the <content description>, divide the <content> into five consecutive lesson and return them to me
-我提供的theme为:LightGBM
-我提供的<content>为:参数优化
-我提供的<content description>为:掌握如何调整LightGBM的参数以优化模型性能
后端完整代码
from django.shortcuts import render
import erniebot
import json
from django.http import HttpResponse, JsonResponse

def index(request):
    return render(request, 'index.html')


def ask(request):
    # 获取前端发送的问题
    question = request.GET.get('question', '')
    model = request.GET.get('model', 'ernie-3.5-8k')
    print(question)
    print(f"Model: {model}")

    from openai import OpenAI
    client = OpenAI(
        base_url='https://qianfan.baidubce.com/v2',
        api_key=''
    )


    # 将文本放在单个消息对象中,用空格分隔不同的文本段落
    message_content = "The task scenario is: I need you to refine the knowledge points I provide into four small modules to help me learn. " \
                    "The best way to refine is to follow a good learning path, and you need to stand from the perspective of a teacher to help me learn the knowledge well. " \
                    f"-对每个模块进行介绍,让读者能够直观的知道该模块的学习内容 我提供的知识点为:{question} " \
                    "-示例json文件如下,参考它的格式:[{\"模块主题\": \"\", \"本模块内容简介\": \"\"},] " \
                    "- Strictly follow the format I provided " \
                    "- 每个模块的介绍在30个中文汉字左右。 " \
                    "- The output is just pure JSON format, with no other descriptions."

    response = client.chat.completions.create(
        model=model,
        messages=[
        {
            "role": "user",
            'top_p': '0.001',
            'content': message_content
        }
    ]
    )
    # 获取文心一言的回答
    print(response)
    answer = response.choices[0].message.content

    print(answer)

    # 解析回答为 Python 字典
    try:
    # 从answer中提取JSON字符串
        json_start = answer.find("[")
        json_end = answer.rfind("]")
        if json_start != -1 and json_end != -1:
            json_content = answer[json_start:json_end+1]

            # 解析JSON字符串为Python字典
            answer_dict = json.loads(json_content)
        else:
            answer_dict = {}  # 如果找不到JSON内容,则创建一个空字典

    except json.JSONDecodeError:
        answer_dict = {}  # 如果解析失败,则创建一个空字典

    # 提取模块主题和内容简介
    module_titles = []  # 创建一个空列表来存储模块主题和内容简介
    for item in answer_dict:
        module_title = item.get("模块主题", "")
        module_description = item.get("本模块内容简介", "")
        print(module_title)
        print(module_description)
        if module_title and module_description:
            module_titles.append({"模块主题": module_title, "本模块内容简介": module_description})
    # 返回回答给前端
    return JsonResponse(module_titles, safe=False)
代码中
api-key填写自己复制得到的api
在urls.py中注册路由
urlpatterns = [
    path('', views.index),						#通过url设置对应的映射
    path('ask/', views.ask),
]
效果如下
- 感谢你赐予我前进的力量
-
微信
- 支付宝